


Turn petcock to the "off" position, once in off position start bike and run until it shuts off. Once bike is off remove fuel line from petcock.

Pull air intake cover off with whatever screw driver is required, mine originally was a Phillips but I replaced the bolts. This is the Buell race filter.

Once air filter is removed you must use a Alan wrench to remove the backing plate from the front of the carburetor.
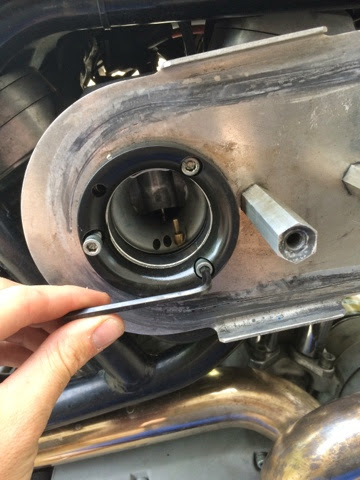
Not sure what size wrench I used but it was a standard American size.

Set plate off to the side out of the way so you don't lose any pieces or trip over it.


My two breather are 3/4" bolts I use anti seize on a lot of my parts so I just put a wrench on it and spin her off real nice.
Once both breathers are removed the plate that holds the carb in the intake will come right off.
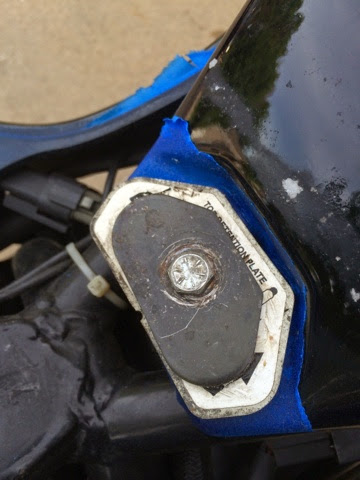
On my bike the bolt holding the gas tank down is a 1/2." Remove this bolt then lift back of gas tank up and pull towards you to remove tank.

Set gas tank out of the way, make sure not to bump the petcock and lose all your gas.

Once the tank is off it's time to remove the carb from the motorcycle.

Don't mind the missing screw in the op of the carb.
Top right of this pick you will see a Phillips screw driver removing a screw that holds the bracket to top of the carb. Lower on that bracket is another screw that needs to come out to remove the idle bracket.
Once bracket is removed you can pull the throttle cables off the carburetor.
You will need to pull choke off frame bracket and also unplug the electrical from the carb.

Once carb is removed set it off to the side.


Old gasket is in my hand the new gaskets are on the ground, in my case there was not a major difference in them at first glance. The old ones where slightly smaller and a little bit softer.


Note: when done you will notice your bike has become hard to start, don't just start taking things apart the seals are fresh and may leak a little until the engine becomes warm or hot.
No comments:
Post a Comment